Thursday, October 31, 2013

Homemade Cider Press in Action


This press is just as easy to operate as it was to make. Here are the simple steps for how it works. FIRST

 Gets some apples
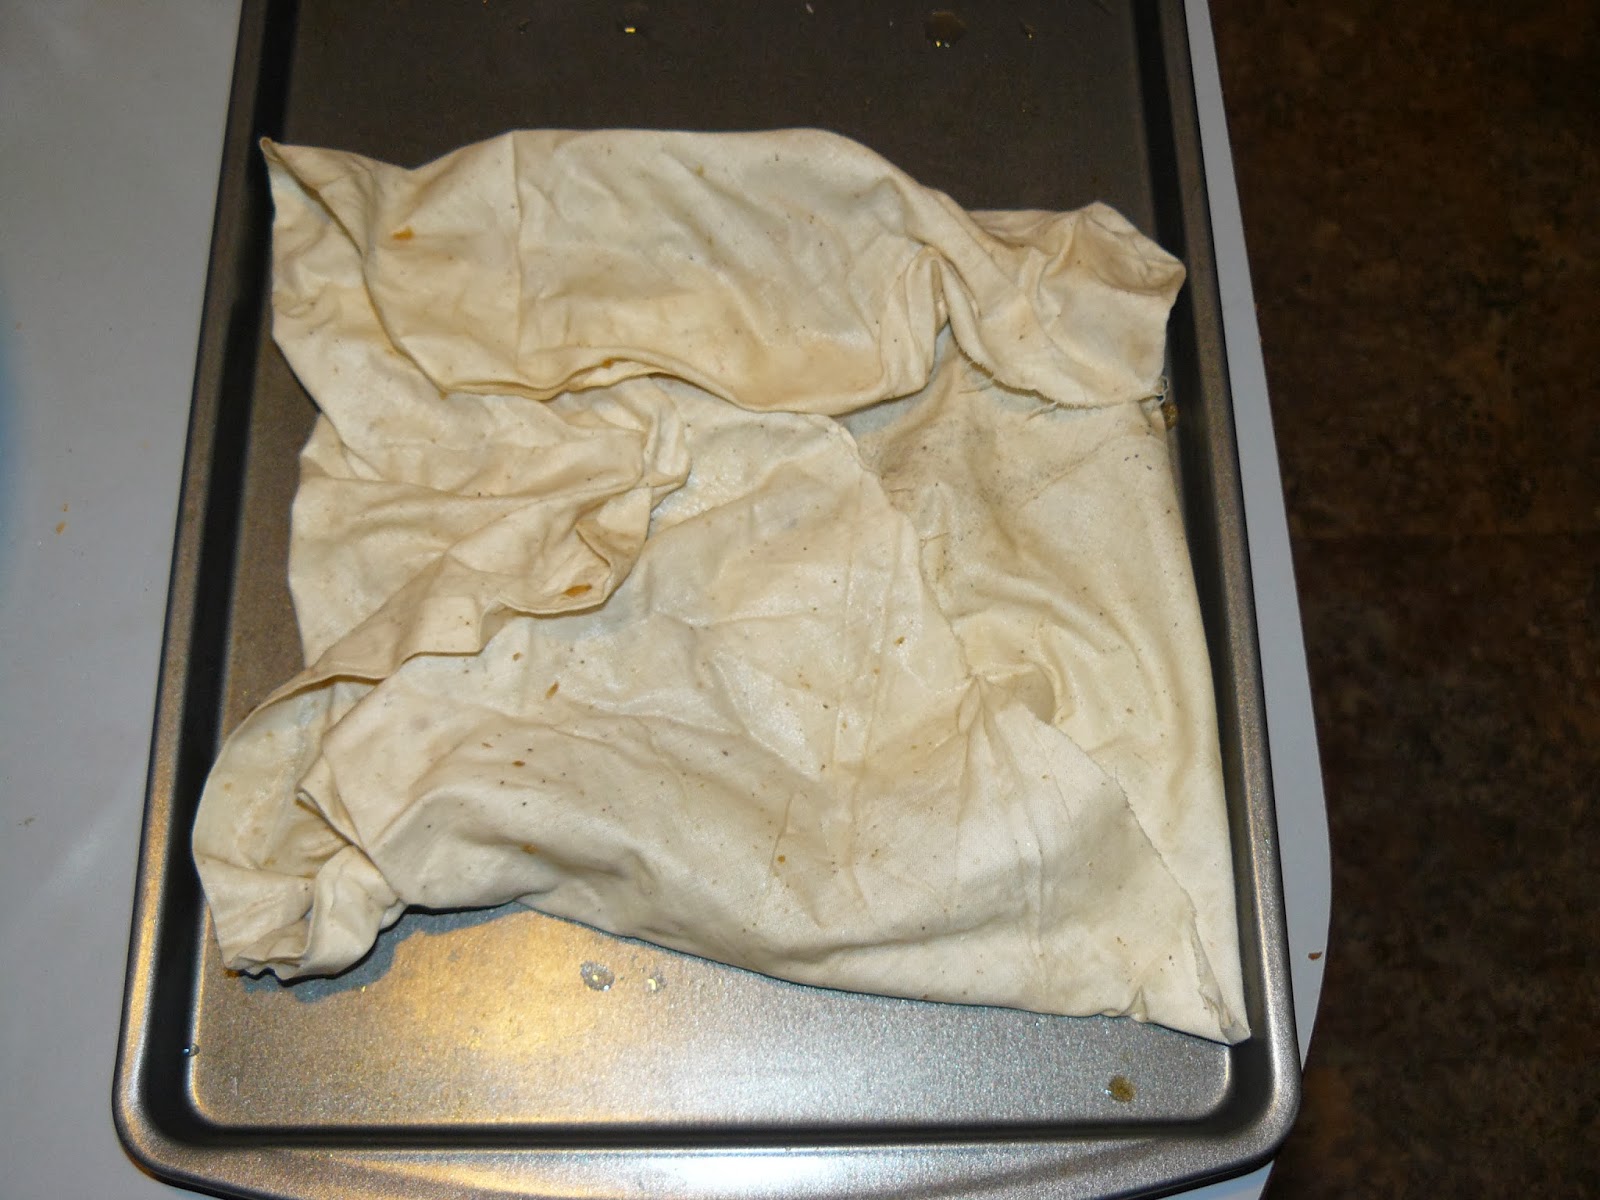
 Chop them up and put the pieces into cheese cloth or muslin cloth.
 If you can process or crush the apples it works even better. I have read many article that a handed cranked meat grinder works great for this. Well my meat grinder didn't work so good to crush the apples. But It also didn't work so good for meat either so it wasn't a surprise when it didn't work for apples either. (Next time I'm BUYING AMERICAN MADE!!)
 Make pucks (or cheeses as some people call them) by wrapping the apple pieces/mush up in the cloth.

Stack a few pucks on the press, cover with left over high density acrylic, and add a few boards. Than set the scissor jack in place.  
 Slowly add press with the jack. Take your time here, the quicker you add pressure with the jack the quicker you will stress the press. Making cider should be fun so take your time and enjoy the process.

One nice feature about this press is that it doesn't have an even stand. If you look that the side view pictures in the last post you can see the whole thing only stands on the 4x4 post. This allows the press to rock back and forth. Rock it forward and the juice flows to the collect shoot. Rock it back wards and you can stop it from spilling if you need to switch out buckets.
Finally all that is left is to enjoy the fruits of your labor!
(Guinness Glass not required but you look cooler with it!)

Wednesday, October 30, 2013

Here it is! How to build a Cider Press for $32.23

First and fore most what you need the most is helper (sons work great for this). It works even better if he loves the process of making apple cider but doesn't really like drinking it (leaves more for me).

Now lets get all the supplies together. Here is the list and prices I paid. My local hardware store has a scrap wood bin. It's all the left overs from in-house projects. The scraps are good quality at a GREAT price. Best source for cheap lumber for small projects. Here is the list,

1/2 x 4-1/2 inch Carrage Bolts (4 piece)  $6.99
1/2 inch Hex Nuts (4 piece) $1.96
High Density Black Acrylic $10.19
2x4 scraps $1.96
3/4"-2'x2' plywood $5.99
4"x4" scrap $2.45
1"x6"-8' $2.69
Random screws (Free! There in every shop.)

So here it is the heart of the machine. This frame is made of 4x4 post with 2x4 header and footer they are attached by mortise and tenon (of course). At this point you could save a lot of money and call it done. All you would need to add is some type of tray and a jack and you can start pressing. But lets improve on the design.

Now by adding a simple piece of plywood on the footer and an extra 2x4 at the header. With these simple additions we have strengthened the head and improved your work space.

Now by using the 1x6 we reenforce the work surface. 3/4" ply wood is extremely strong but by just adding few boards it's now close to bullet proof.

  Again the press could be called done but I wanted so style added to my press. I used the high density acrylic to line the work surface. This stuff is AWESOME. It is used in commercial grade kitchens as cutting boards. The stuff is tough and even a glass cutter had trouble even scratching the stuff (I had to us a table saw to cut it) But by adding it I made clean up easier, extraction smoother and will extend the life of the press (I hope). I add some channel arms to direct the flow of cider to one point. Than I finished it up by caulking all the seams.


Side View
 Front View


 Top (ish) view
The good thing about this design is you can use it for cider, cheese, grapes, or anything else that needs pressing. Enjoy

(Coming up to tomorrow I will post how to operate the press. Even I was REALLY impressed on how well and easy the press worked!)

Wednesday, October 23, 2013

Cider Press done and looking good!


It was a long night and a hard push but I finished the Cider Press! It turned out GREAT! I know I promised a full instruction on how to build your own cider press easily and cheaply. I will keep this promise but after a long night I need some rest and some time to marvel at a job well done.

Tuesday, October 22, 2013

Cider Press... ALMOST DONE

So here is the deal with the cider press. I have it about 50% finished with some great pic and was able to build it for around $30! My hope is that I will get it finished and than post the full instructions on here with in the next two weeks. I promise it will be worth the wait. I'm even really impressed how well it's turning out and how little it cost me to build. The bigger issue is that with the early snow we are getting apple season will be coming to an early end here in Winterland Michigan. So I need to hurry up and finish this press for more than one reason.

OH and even though I didn't finish the cider press (the plan was to spend the whole day in the shop but with4  kids; that plan changed) I do still believe I can safely say I have aged more like Wine than milk!!! The other projects turned out GREAT.

Friday, October 18, 2013

My loss, Your Gain... OR one year old one year wiser

So tomorrow is my 30th birthday. For lots of people this is a really big deal/milestone. For me my 26th birthday was the really big deal/milestone (for personal reasons). But everyone keeps asking me if I"m going to do something speical for my "Milestone" birthday. So I have decided to but myself to the test! I want to see if I have aged like fine wine or more like milk. I'm going to under take a hand full of wood working projects. Some will take great skill while others will take some ingenuity. My goal is to finish all the project tomorrow (except for staining them because that takes days to do it right). Than I'm going to judge myself on my work (or call in a 3rd party to do the judging).

Now you may be asking "OK GREAT but why put this on a blog about farming?" To which I would reply "First it is my blog" and next "Good questing!"

The answer is I'm going to be making a cider press as the project that involves my ingenuity skills. But I'm going to document the whole process and (if it works) post the full instruction here. The goals for the press will be that it is effective, quick to build (I have about 1/3 of a day to do it), and cheap to build (as most of my money will be going to the other projects)

So stay toned! Keep your eyes open for "HOW TO BUILD A CIDER PRESS" coming soon.


OR if it is an epic fail keep your eyes open for "how NOT to build a cider press"

Saturday, October 12, 2013

Well it finally happen!

As I have said many times before I do all the farming and self-sufficiency stuff because I find it fun and I enjoy the process. I don't believe that I can save money, or that the food is healthier and I have NEVER found that the food taste better. I do believe that the Magic Super Markets foods of this world are just as healthy and tasty as anything I can make. Then throw in the fact that the food from the store is cheaper, all I'm left with is the enjoyment and fun that comes for the process.

Again I"m cool with that idea. Everyone needs a hobby and something to waste money on. BUT today I tried something new that has rocked my world and may have very well changed some of my ways of thinking when it comes to farming and self-sufficiency. What was this life altering activity you may ask? Well....

I tried making homemade NOODLES!

Crazy right! Something so simple and easy!  The noodles had more flavor, they were more filling, and crazy enough they are cheaper to make than to buy from the store. I'm glad I finally tried it. Oh course my diet in now shot. Oh well winter is coming we will call it insulation!

Wednesday, October 9, 2013

Cider Report!!

So I tried my hand at making cider and hard cider. The Cider turned out great!! I filtered it so it was clear and my kids were then willing to drink it. When I made the hard cider it turned out pretty good. It taste a lot like Hornsby's Hard Cider (http://www.hornsbys.com/) only flat. So I seprated the finished product into two different bottlings. One was just straight hard cider which no surprise to this day still taste like flat Hornsb's. Now the other batch I added priming sugar to the bottles in hopes to carbonate them (getting rid of the flat taste). WELL it turns out that with Cider you need to at least double the normal about of priming sugar. The cider had some carbonation but not enough.

So the plan is to make another batch of hard cider. This time I"m going to photo-document the process and post it here for everyone to enjoy.

OH and the good think about making cider is even a failed attempt is tasty and still has some kick to it! HAPPY DRINKING

Saturday, October 5, 2013

Zone 1 defense!


 The first zone is going to be the vegetable zone. In the area I want to set up plots to grow all my perennial crops. The challenge here is that this area is also where my children play and I can't take that away from them. So I'm going to have to get creative.

First: Raised Garden Bed
OK this is a no brainer. The raised bed is going to be 4 feet by 8 feet and fit next to the gate on the right hand side there. This area is south facing as easy access to water and the kid don't really play in this area. Now the cool adaptation I'm going to make to this raised garden bed is in the construction. Which can be found in detail here:
http://www.instructables.com/id/An-Improved-Raised-Bed-Garden/

Then general idea is to use homemade concrete brackets to hold your raised bed gardens together. So when a board starts to rot you just replace it. With traditional all wood raised bed construction you could only replace the boards as long as your corner post were good. But once those rotted your almost had to start all over. Very cool design and I can't wait to use it.

Second: Hanging Garden
Again not a new idea but until this year it is one I almost scrapped. I have tried hanging gardens for the last few years and weak results. But this year I made a Hail Mary Pass attempt and it worked! (I'm not going to get into all the details now but this spring when I start planting I will go more in depth) All I'm going to do for this next spring is to sink 4x4 post at the corners of my raised bed garden and run boards along them to hang my bucket garden from. This will allow me to not take up more yard and time and time again I keep reading about the benefits of cascade gardening or to set up your plants so when you water one the excess water goes to another part of your garden. So when I water my hanging garden any extra will filter down to my raised bed garden.

Third: Play Structure = Grow Structure
Now this is cool and VERY original (at least I haven't found many other people that do this)  What it is going to be is a "fort"/Jungle Gym that my kids can play on but I have worked in grow mediums to the structure. Cool right! Peak your interest RIGHT! Love the idea and want to see more RIGHT! Well you're going to have to wait :-( Sorry the designs aren't done yet and I still have some research that needs to be done to make sure it not only will look nice (last thing I want is the city on my butt), my kids will play one it, and stuff to grew in it too. My plan is to finish the design this winter and start building as soon as most of the snow melts. So keep watching for more details.