The batch has finished fermenting and in now bottled! I just have to wait for it to get conditioned (become carbonated). It is very tasty this time a little cloudy but I think that will settle after conditioning. (OK so the glass of hard cider makes the batch look REALLY cloudy but that is from the bottom of cask and I had to tilt it to pour it, so a BUNCH of treb came out. The stuff in the bottles is quit clear.)
The reason I didn't wait for the cider to totally clear is one of the ways I'm trouble shooting the last batch not being carbonated after conditioning. I think the last batch almost all the yeast died before I bottled the cider. Clouding in brewing normally mean your yeast is still a live OR it can mean you messed up. I was very careful so I'm ruling out messed up.
I know I had mentioned in an earlier post that I thought the problem of low to no carbonation was due to not enough priming sugar. Well I didn't increase my priming sugar. I only want to test one thing at at time and after re-looking at the last batch I think no having enough active yeast was more the problem than not having enough priming sugar. Time will tell.
Conditioning should be finished by Sunday so I will let you know after that if this batch is more carbonated and how the taste compares.
Wednesday, November 20, 2013
Thursday, November 7, 2013
WINTER IS HERE!! So bring on the beer! (well hard cider)
We have started to get hit with our hard snow storms the last few days and I'm going to go out on a limb and say the snow is here to stay! I got most of my winter prep done before the snow hit but as always there is still some things that I haven't done. So for the next week I will be clearing snow to clear leaves to over stuff up. So in order to get myself ready for a week of being cold and wet because I was lazy and didn't do these chores sooner, I'm putting off starting those chores to make some more hard apple cider!
Alright I know what your thinking "JUST GET THE CHORES DONE!" and I will but my loving, awesome and might I add very caring wife allowed me to buy the stuff to make hard apple cider so HERE WE ARE. Besides it only took about an hour and it will take two weeks to cooks. I figure it will be a good reward when I finally finish all my chores.
Cheers
Monday, November 4, 2013
HUGE THANK YOU TO EVERYONE
So after looking over my numbers I see I have broken the 1,000 pageviewed mark!!!! Thank you everyone for stopping by and taking a look at what I have been posting. I promise there will be more good stuff coming so keep coming back. Can't wait to pass the 10,000 mark!
THANKS AGAIN!!
THANKS AGAIN!!
Thursday, October 31, 2013
Homemade Cider Press in Action
This press is just as easy to operate as it was to make. Here are the simple steps for how it works. FIRST
Gets some apples
Chop them up and put the pieces into cheese cloth or muslin cloth.
If you can process or crush the apples it works even better. I have read many article that a handed cranked meat grinder works great for this. Well my meat grinder didn't work so good to crush the apples. But It also didn't work so good for meat either so it wasn't a surprise when it didn't work for apples either. (Next time I'm BUYING AMERICAN MADE!!)
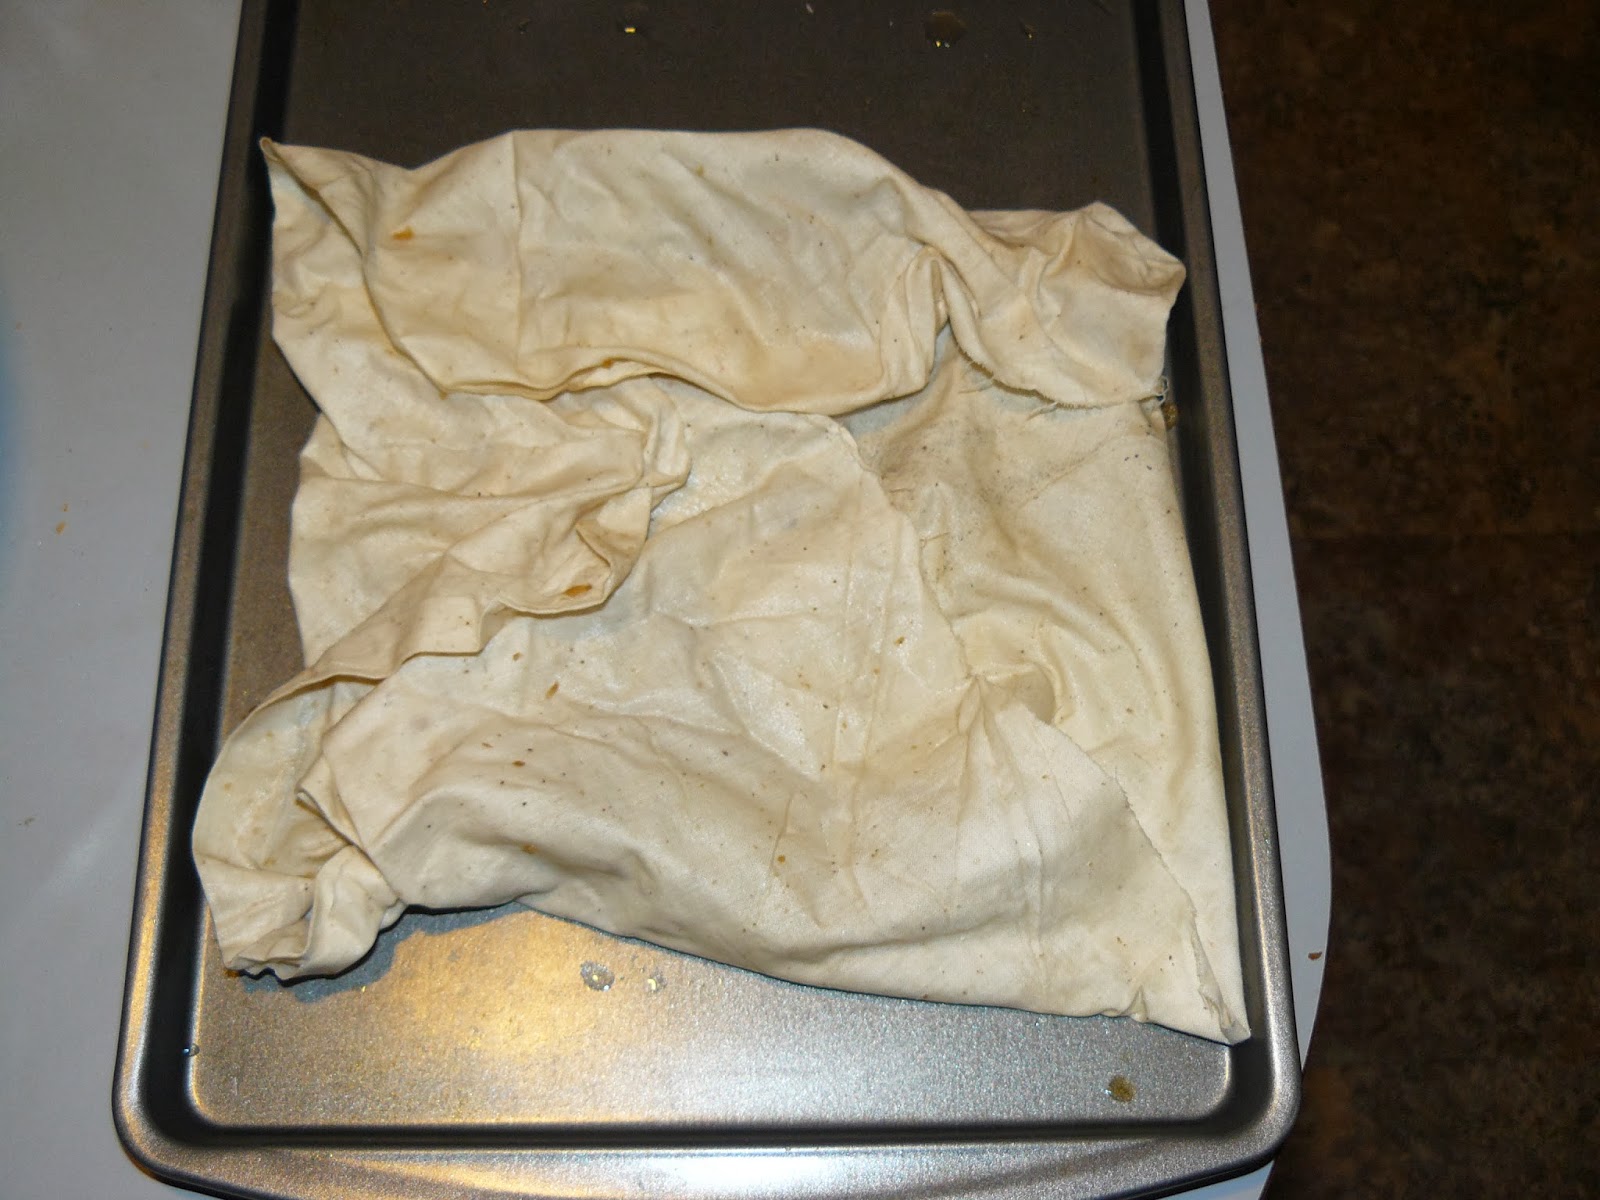
Make pucks (or cheeses as some people call them) by wrapping the apple pieces/mush up in the cloth.Stack a few pucks on the press, cover with left over high density acrylic, and add a few boards. Than set the scissor jack in place.
Slowly add press with the jack. Take your time here, the quicker you add pressure with the jack the quicker you will stress the press. Making cider should be fun so take your time and enjoy the process.
One nice feature about this press is that it doesn't have an even stand. If you look that the side view pictures in the last post you can see the whole thing only stands on the 4x4 post. This allows the press to rock back and forth. Rock it forward and the juice flows to the collect shoot. Rock it back wards and you can stop it from spilling if you need to switch out buckets.
Finally all that is left is to enjoy the fruits of your labor!
(Guinness Glass not required but you look cooler with it!)
Wednesday, October 30, 2013
Here it is! How to build a Cider Press for $32.23
First and fore most what you need the most is helper (sons work great for this). It works even better if he loves the process of making apple cider but doesn't really like drinking it (leaves more for me).
Now lets get all the supplies together. Here is the list and prices I paid. My local hardware store has a scrap wood bin. It's all the left overs from in-house projects. The scraps are good quality at a GREAT price. Best source for cheap lumber for small projects. Here is the list,
1/2 x 4-1/2 inch Carrage Bolts (4 piece) $6.99
1/2 inch Hex Nuts (4 piece) $1.96
High Density Black Acrylic $10.19
2x4 scraps $1.96
3/4"-2'x2' plywood $5.99
4"x4" scrap $2.45
1"x6"-8' $2.69
Random screws (Free! There in every shop.)
So here it is the heart of the machine. This frame is made of 4x4 post with 2x4 header and footer they are attached by mortise and tenon (of course). At this point you could save a lot of money and call it done. All you would need to add is some type of tray and a jack and you can start pressing. But lets improve on the design.
Now by adding a simple piece of plywood on the footer and an extra 2x4 at the header. With these simple additions we have strengthened the head and improved your work space.
Now by using the 1x6 we reenforce the work surface. 3/4" ply wood is extremely strong but by just adding few boards it's now close to bullet proof.
Again the press could be called done but I wanted so style added to my press. I used the high density acrylic to line the work surface. This stuff is AWESOME. It is used in commercial grade kitchens as cutting boards. The stuff is tough and even a glass cutter had trouble even scratching the stuff (I had to us a table saw to cut it) But by adding it I made clean up easier, extraction smoother and will extend the life of the press (I hope). I add some channel arms to direct the flow of cider to one point. Than I finished it up by caulking all the seams.
Side View
Now lets get all the supplies together. Here is the list and prices I paid. My local hardware store has a scrap wood bin. It's all the left overs from in-house projects. The scraps are good quality at a GREAT price. Best source for cheap lumber for small projects. Here is the list,
1/2 x 4-1/2 inch Carrage Bolts (4 piece) $6.99
1/2 inch Hex Nuts (4 piece) $1.96
High Density Black Acrylic $10.19
2x4 scraps $1.96
3/4"-2'x2' plywood $5.99
4"x4" scrap $2.45
1"x6"-8' $2.69
Random screws (Free! There in every shop.)
So here it is the heart of the machine. This frame is made of 4x4 post with 2x4 header and footer they are attached by mortise and tenon (of course). At this point you could save a lot of money and call it done. All you would need to add is some type of tray and a jack and you can start pressing. But lets improve on the design.
Now by adding a simple piece of plywood on the footer and an extra 2x4 at the header. With these simple additions we have strengthened the head and improved your work space.
Now by using the 1x6 we reenforce the work surface. 3/4" ply wood is extremely strong but by just adding few boards it's now close to bullet proof.
Again the press could be called done but I wanted so style added to my press. I used the high density acrylic to line the work surface. This stuff is AWESOME. It is used in commercial grade kitchens as cutting boards. The stuff is tough and even a glass cutter had trouble even scratching the stuff (I had to us a table saw to cut it) But by adding it I made clean up easier, extraction smoother and will extend the life of the press (I hope). I add some channel arms to direct the flow of cider to one point. Than I finished it up by caulking all the seams.
Front View
Top (ish) view
The good thing about this design is you can use it for cider, cheese, grapes, or anything else that needs pressing. Enjoy
(Coming up to tomorrow I will post how to operate the press. Even I was REALLY impressed on how well and easy the press worked!)
Labels:
apple cider,
cheap,
cider press,
easy,
homemade,
press
Wednesday, October 23, 2013
Cider Press done and looking good!
It was a long night and a hard push but I finished the Cider Press! It turned out GREAT! I know I promised a full instruction on how to build your own cider press easily and cheaply. I will keep this promise but after a long night I need some rest and some time to marvel at a job well done.
Tuesday, October 22, 2013
Cider Press... ALMOST DONE
So here is the deal with the cider press. I have it about 50% finished with some great pic and was able to build it for around $30! My hope is that I will get it finished and than post the full instructions on here with in the next two weeks. I promise it will be worth the wait. I'm even really impressed how well it's turning out and how little it cost me to build. The bigger issue is that with the early snow we are getting apple season will be coming to an early end here in Winterland Michigan. So I need to hurry up and finish this press for more than one reason.
OH and even though I didn't finish the cider press (the plan was to spend the whole day in the shop but with4 kids; that plan changed) I do still believe I can safely say I have aged more like Wine than milk!!! The other projects turned out GREAT.
Subscribe to:
Posts (Atom)