We have started to get hit with our hard snow storms the last few days and I'm going to go out on a limb and say the snow is here to stay! I got most of my winter prep done before the snow hit but as always there is still some things that I haven't done. So for the next week I will be clearing snow to clear leaves to over stuff up. So in order to get myself ready for a week of being cold and wet because I was lazy and didn't do these chores sooner, I'm putting off starting those chores to make some more hard apple cider!
Alright I know what your thinking "JUST GET THE CHORES DONE!" and I will but my loving, awesome and might I add very caring wife allowed me to buy the stuff to make hard apple cider so HERE WE ARE. Besides it only took about an hour and it will take two weeks to cooks. I figure it will be a good reward when I finally finish all my chores.
Cheers
Thursday, November 7, 2013

Monday, November 4, 2013
HUGE THANK YOU TO EVERYONE
So after looking over my numbers I see I have broken the 1,000 pageviewed mark!!!! Thank you everyone for stopping by and taking a look at what I have been posting. I promise there will be more good stuff coming so keep coming back. Can't wait to pass the 10,000 mark!
THANKS AGAIN!!
THANKS AGAIN!!
Thursday, October 31, 2013
Homemade Cider Press in Action

This press is just as easy to operate as it was to make. Here are the simple steps for how it works. FIRST

Gets some apples


If you can process or crush the apples it works even better. I have read many article that a handed cranked meat grinder works great for this. Well my meat grinder didn't work so good to crush the apples. But It also didn't work so good for meat either so it wasn't a surprise when it didn't work for apples either. (Next time I'm BUYING AMERICAN MADE!!)
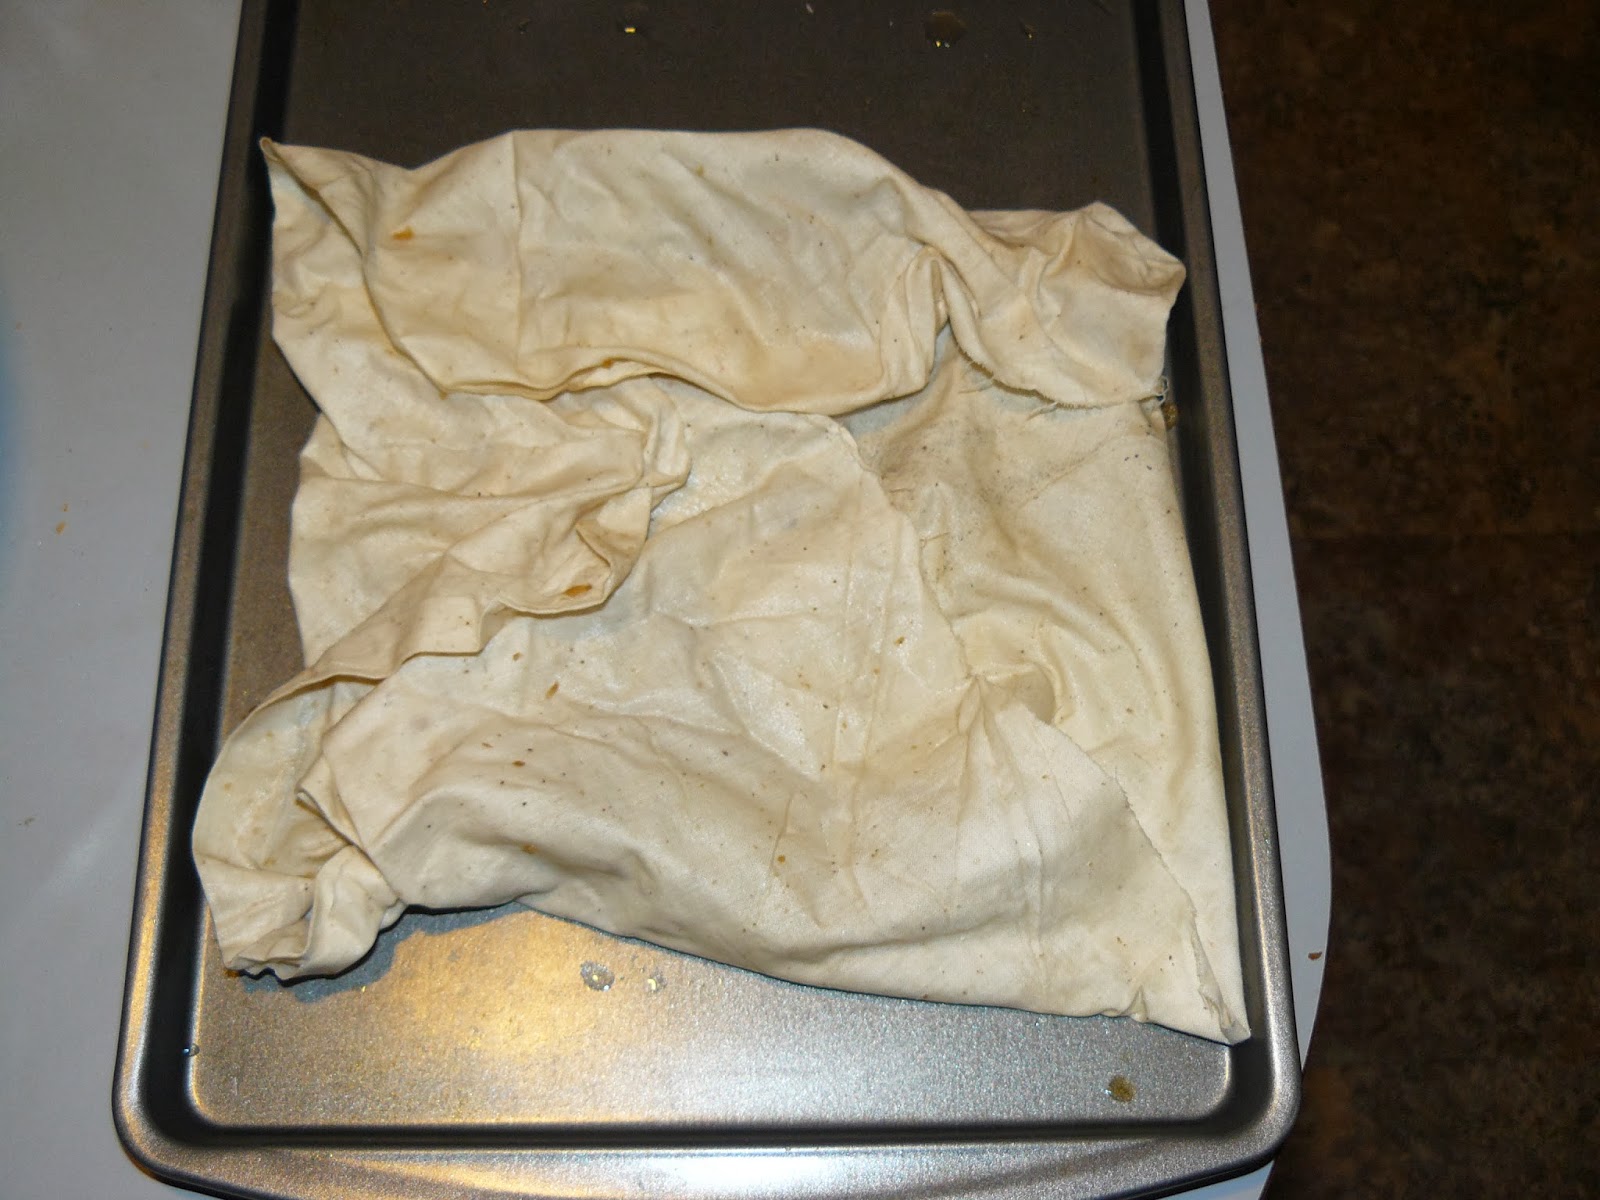

Stack a few pucks on the press, cover with left over high density acrylic, and add a few boards. Than set the scissor jack in place.


One nice feature about this press is that it doesn't have an even stand. If you look that the side view pictures in the last post you can see the whole thing only stands on the 4x4 post. This allows the press to rock back and forth. Rock it forward and the juice flows to the collect shoot. Rock it back wards and you can stop it from spilling if you need to switch out buckets.

Finally all that is left is to enjoy the fruits of your labor!
(Guinness Glass not required but you look cooler with it!)
Wednesday, October 30, 2013
Here it is! How to build a Cider Press for $32.23


1/2 x 4-1/2 inch Carrage Bolts (4 piece) $6.99
1/2 inch Hex Nuts (4 piece) $1.96
High Density Black Acrylic $10.19
2x4 scraps $1.96
3/4"-2'x2' plywood $5.99
4"x4" scrap $2.45
1"x6"-8' $2.69
Random screws (Free! There in every shop.)


 Side View

Front View
Top (ish) view
The good thing about this design is you can use it for cider, cheese, grapes, or anything else that needs pressing. Enjoy
(Coming up to tomorrow I will post how to operate the press. Even I was REALLY impressed on how well and easy the press worked!)
Wednesday, October 23, 2013
Cider Press done and looking good!

It was a long night and a hard push but I finished the Cider Press! It turned out GREAT! I know I promised a full instruction on how to build your own cider press easily and cheaply. I will keep this promise but after a long night I need some rest and some time to marvel at a job well done.
Tuesday, October 22, 2013
Cider Press... ALMOST DONE
So here is the deal with the cider press. I have it about 50% finished with some great pic and was able to build it for around $30! My hope is that I will get it finished and than post the full instructions on here with in the next two weeks. I promise it will be worth the wait. I'm even really impressed how well it's turning out and how little it cost me to build. The bigger issue is that with the early snow we are getting apple season will be coming to an early end here in Winterland Michigan. So I need to hurry up and finish this press for more than one reason.
OH and even though I didn't finish the cider press (the plan was to spend the whole day in the shop but with4 kids; that plan changed) I do still believe I can safely say I have aged more like Wine than milk!!! The other projects turned out GREAT.
OH and even though I didn't finish the cider press (the plan was to spend the whole day in the shop but with4 kids; that plan changed) I do still believe I can safely say I have aged more like Wine than milk!!! The other projects turned out GREAT.
Friday, October 18, 2013
My loss, Your Gain... OR one year old one year wiser
So tomorrow is my 30th birthday. For lots of people this is a really big deal/milestone. For me my 26th birthday was the really big deal/milestone (for personal reasons). But everyone keeps asking me if I"m going to do something speical for my "Milestone" birthday. So I have decided to but myself to the test! I want to see if I have aged like fine wine or more like milk. I'm going to under take a hand full of wood working projects. Some will take great skill while others will take some ingenuity. My goal is to finish all the project tomorrow (except for staining them because that takes days to do it right). Than I'm going to judge myself on my work (or call in a 3rd party to do the judging).
Now you may be asking "OK GREAT but why put this on a blog about farming?" To which I would reply "First it is my blog" and next "Good questing!"
The answer is I'm going to be making a cider press as the project that involves my ingenuity skills. But I'm going to document the whole process and (if it works) post the full instruction here. The goals for the press will be that it is effective, quick to build (I have about 1/3 of a day to do it), and cheap to build (as most of my money will be going to the other projects)
So stay toned! Keep your eyes open for "HOW TO BUILD A CIDER PRESS" coming soon.
OR if it is an epic fail keep your eyes open for "how NOT to build a cider press"
Now you may be asking "OK GREAT but why put this on a blog about farming?" To which I would reply "First it is my blog" and next "Good questing!"
The answer is I'm going to be making a cider press as the project that involves my ingenuity skills. But I'm going to document the whole process and (if it works) post the full instruction here. The goals for the press will be that it is effective, quick to build (I have about 1/3 of a day to do it), and cheap to build (as most of my money will be going to the other projects)
So stay toned! Keep your eyes open for "HOW TO BUILD A CIDER PRESS" coming soon.
OR if it is an epic fail keep your eyes open for "how NOT to build a cider press"
Subscribe to:
Posts (Atom)